Epoxy flooring is the perfect solution for a cleaner, more durable garage. Still, there’s more to it than just rolling on a coat. From surface prep to timing and aftercare, small mistakes can lead to big problems down the track. If you’re aiming for a finish that lasts, it pays to understand what’s involved before diving in. This article explores what you need to know before putting epoxy on a garage floor.
Which issues lead to epoxy failure in garage floors?
A poorly applied epoxy floor can peel, bubble, or fail to bond. These issues typically arise from neglecting basic preparation steps or using the epoxy under improper conditions. Before anything else, you need to pinpoint what causes failures:
- Moisture trapped beneath the surface often leads to blistering or bubbling.
- Contaminants such as oil or grease can prevent the epoxy from bonding.
- Temperature fluctuations during curing affect adhesion and finish.
- Inadequate surface etching leaves the concrete too smooth for proper bonding.
These problems might seem minor at first, but wear and tear quickly expose them. Many try a quick fix only to realise it’s a case of starting over. If you want a result that holds up over time, it pays to discover reliable methods for applying epoxy to garage floor surfaces rather than rushing into the application.
Why is timing critical when putting epoxy on the garage floor?
You can’t just slap on epoxy whenever it suits you. Timing influences everything from cure strength to overall appearance. Here’s what poor timing impacts:
- Humidity levels can prevent proper curing, especially in warm climates.
- Excessive direct sunlight during epoxy curing can cause surface yellowing or patchy gloss.
- Applying in cold conditions leaves the epoxy tacky and undercured.
- Wrong recoat intervals weaken the chemical bond between layers.
Jumping the gun or waiting too long between coats is a common misstep. It’s a bit like undercooking a roast—no matter how good the ingredients are, the end result won’t be correct. Timing every step allows the epoxy to bond chemically and harden fully, making it far more resilient.
Could surface flaws affect epoxy bonding strength?
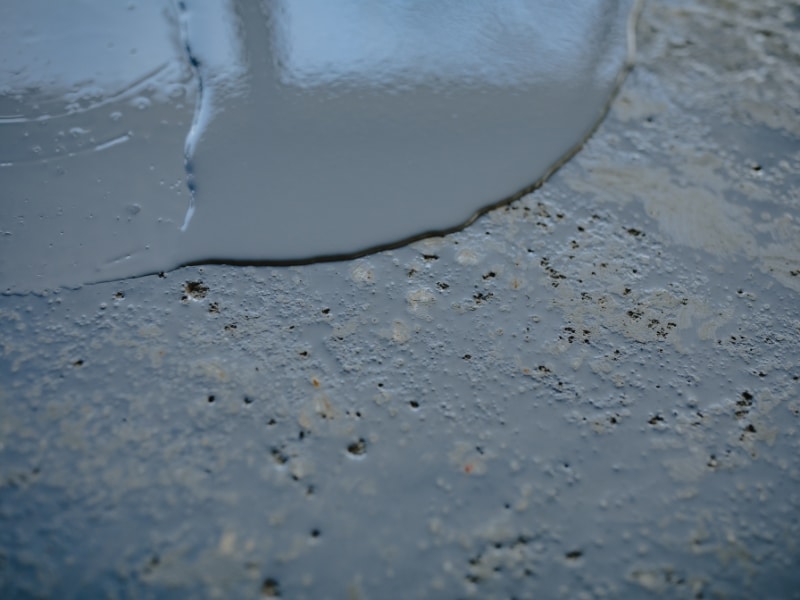
Surface prep makes or breaks an epoxy job. Even minor flaws in the slab—like hairline cracks or old sealants—can compromise bonding. Here’s why surface quality matters:
- Micro-cracks absorb epoxy unevenly and may lead to delamination.
- Old paint or sealants act as a barrier, blocking adhesion.
- Unfilled pits or spalls leave weak spots that chip under stress.
- Efflorescence (white salts) indicates moisture issues that need to be resolved first.
It’s tempting to think a thicker coat will hide flaws, but that’s like painting over rust—it might look alright briefly, but it won’t last. When planning your upgrade, it’s helpful to consider which epoxy suits your garage’s needs based on the current state of your floor.
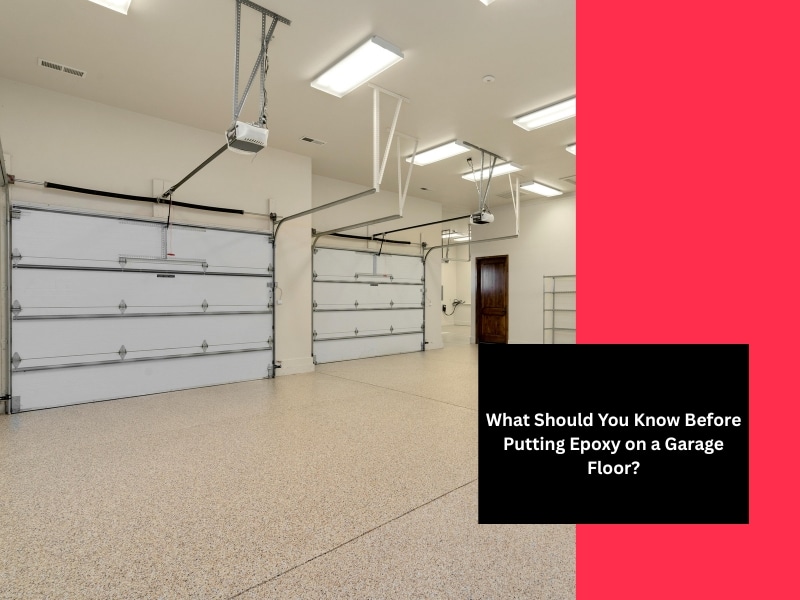
What is the right way of putting epoxy on a garage floor?
It’s not rocket science, but you can’t just wing it either. Following the proper steps increases the coating’s lifespan and reduces long-term maintenance requirements. A solid process includes:
- Degreasing the surface with a high-pH cleaner to remove contaminants.
- Etching or grinding the concrete to open up pores for bonding.
- Filling cracks and holes with a compatible epoxy filler.
- Applying a primer coat for extra adhesion before the topcoat.
Some folks rush through these steps, only to pay for it down the line. Getting it right the first time means fewer repairs later—and better slip resistance too. When weighing your options, consider how the impact of epoxy flooring colours on garage lighting can affect brightness and visibility, especially in garages that also serve as hobby spaces or work zones.
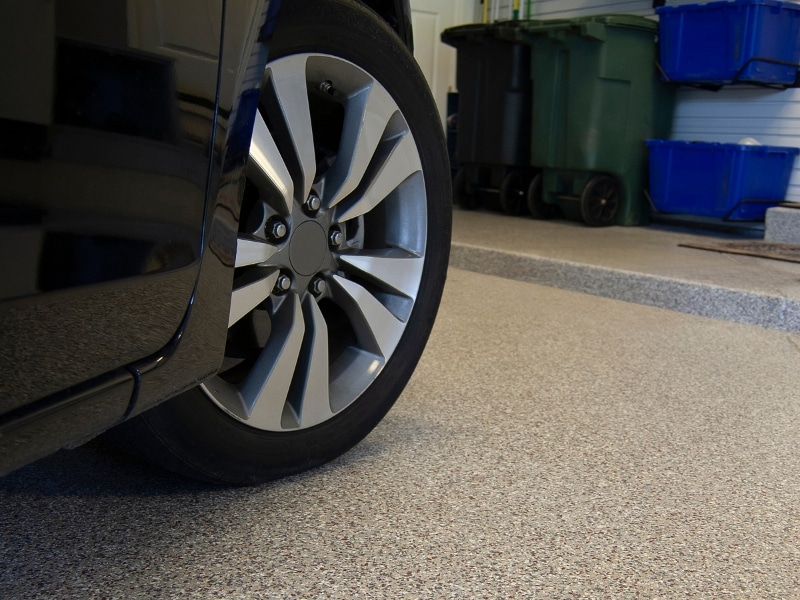
Is an epoxy finish practical for heavy-use garage areas?
Garages aren’t just for cars anymore. Many also serve as workshops, storage spaces, or home gyms. Epoxy floors need to withstand everything from tools and tires to pets and weather fluctuations. Here’s how epoxy performs under pressure:
- Highly abrasion-resistant, making it ideal for use in environments prone to tool drops or gear shifts.
- Non-porous surface blocks stains from oil, coolant, or household chemicals.
- UV-stable options are available to prevent yellowing in areas exposed to sunlight.
- Topcoat additives provide traction control in wet or dusty conditions.
Despite the durability, there are trade-offs. Slippery when wet is a common concern, especially with gloss finishes. For garages used year-round and in varied conditions, it’s worth focusing on maintaining surface safety to prevent trips and falls, especially when water or dust builds up around entry points or work areas.
What can go wrong when putting epoxy on the garage floor yourself?
DIY epoxy kits make it look easy, but a lot is riding on each decision. Errors made early often can’t be fixed later. Typical DIY pitfalls include:
- Mismixing the resin and hardener can lead to soft patches.
- Uneven spreading, causing thin areas and visible roller marks.
- Skimping on prep ruins bonding from the get-go.
- Poor ventilation can trap fumes, prolonging the cure time.
It’s easy to go from confident to completely frustrated if you miss a step. And once the product cures, you’re stuck with the results. Before diving in solo, weigh your comfort level with each task. Professional installation removes guesswork and guarantees consistency.
Which factors should you consider after the epoxy floor is installed?
Once it’s down, maintenance is straightforward—but it’s not a set-and-forget process. How you treat the floor in the early days affects long-term durability. Post-installation priorities include:
- Allowing full cure time (usually 72 hours) before parking or heavy use.
- Using soft tyres or mats under heavy gear to prevent compression dents.
- Regular cleaning with pH-neutral products helps prevent surface degradation.
- Monitoring for edge lifting in high-moisture areas or near drains.
Early neglect can undo a perfect job. Avoid using abrasive tools or cleaners, and refrain from letting water pool for too long. You’ll save yourself the drama of patching or recoating later.
Epoxy Floor Installation Do’s and Don’ts
Step | Do This | Avoid This |
Surface preparation | Degrease, grind, and fill all flaws | Skipping crack repairs |
Mixing | Use a drill mixer and follow the ratios | Eyeballing hardener amounts |
Timing | Apply during ideal temperature/humidity windows | Rushing coats or working in too cold |
Finish protection | Add a traction additive if needed | Using a glossy finish near wet zones |
Post-cure maintenance | Clean gently, check edges over time | Parking heavy loads too early |
Final thoughts
Epoxy flooring transforms a basic garage into a functional and durable space—but only if it is installed with care. From timing and surface preparation to long-term maintenance, each step plays a crucial role in determining how well the floor performs over time. For a better sense of what works in real garages, you can explore how Ultimate Epoxy Floors transforms garage spaces with long-lasting finishes designed for everyday use.