Many garages and/or factory floor owners are worried about the cracks on their concrete base. So, here, at Ultimate Epoxy Floors, we decided to lend a hand. The following, therefore, is a set of instructions on how to apply concrete crack-filler before Epoxy.
We will also let you know how to prepare the cracked/damaged ground before the operational phases. All the methods are DIY-friendly and based on our experiences working with Sydneysider concrete-floor owners who were struggling with cracks!
In case you’re tired of seeing terrifying gaps on the surface, read our article on what is the Epoxy concrete sealer.
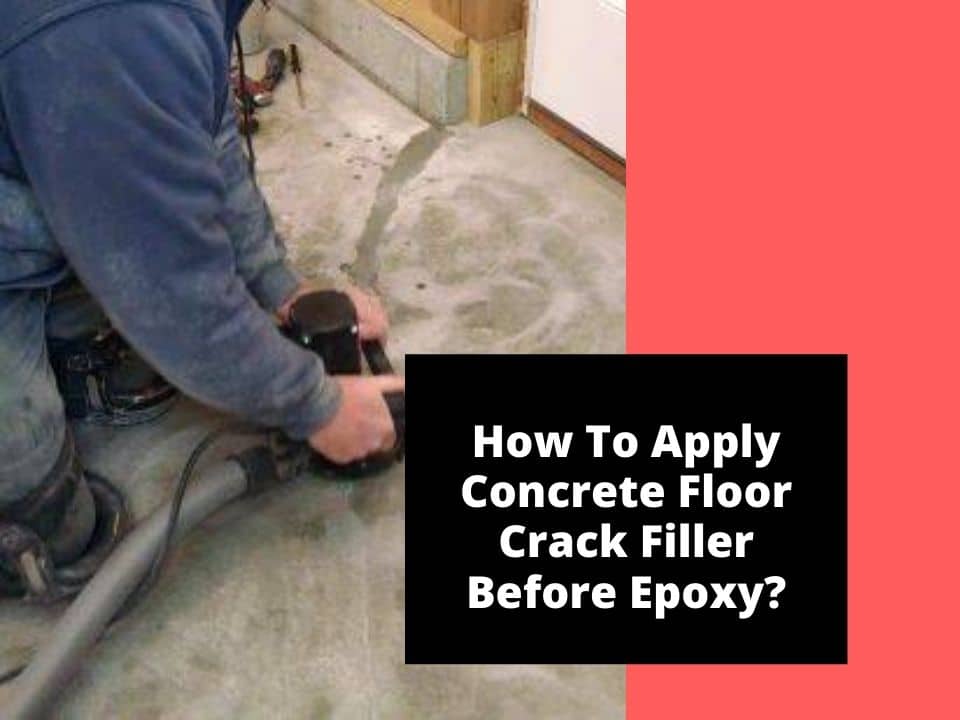
Preparing the Floor Before Crack Repair
- Use a hammer and chisel to get rid of all the loose contaminators and debris. Do it precisely but avoid damaging other parts if the concrete. This must be done to create a one-inch path for the filler.
- Now, utilize a brush and remove all the remaining concrete parts from the cracks. It’s like mopping a floor—with the only difference being the tools you use.
- Just to make sure you’ve detached all the loose debris, pressure washes the area. In case you don’t have a pressure washer, utilize a gardening hose with a strong nozzle.
- Finally, if you have enough time, let the ground dry. Otherwise, use a brush and take the water away manually. Your base is ready for the crack filler application!
in case you’re going to apply a sealer afterward, read our guide on how to clean the garage floor before Epoxy.
Concrete Crack Sealant
One of the most popular fillers in Sydney is the concrete crack sealant. It’s a ready-to-use product that comes in a grey color, matching any concrete floor color effortlessly.
To use it, prepare the ground as explained above, and fill the cracks with the mixture. You should make sure that there’s enough sealant in each crack. So, don’t hurry; take your time and work your way through a certain direction, stuffing the gaps precisely.
Don’t worry if the product created a bump on the base. You can always come back when it’s dry to smooth it. It’s also possible to use grinding techniques after the crack reparation. The substance dries in 30 minutes but you must wait for 24 hours before it hardens.
We’ve provided a manual on how to use and care for a floor cleaner machine that will come in handy when it comes to grinding.
Note: it’s a water-based substance and can be cleaned effortlessly utilizing damp cloth.
Cement Patch
This product comes in a kit-like package. So, the first thing you must do is reading the instructions. However, most of them contain a grey sand-like substance that must be mixed with the main patch after adding water.
So, make your own mixture according to the instructions and then use a trowel to apply it. Bear in mind that this task needs some extra effort as you should push the cement patch into the cracks.
When you’ve filled the gaps, it’s time to utilize a dry brush and smoothen the area. This is when you remove all the debris and possible bumps from the repaired ground.
Liquid Crack Filler
You should mix the liquids in the package based on the instructions provided by the manufacturer. However, keep in mind that these substances usually have a limited time before they dry up. So, hurry up and make enough mixture for a 5-minute process.
First, fill the gaps with the liquid, making sure they are fully covered. Next, add some sand to the product and apply it to the surface thoroughly. Finally, wait for it to harden and then, grind the place to remove any bumps.
We Can Patch the Cracks Up
Contact us right now and let our consultants lend a helping hand with your floor-related issues. We’ve installed Epoxy sealers on many different bases such as food flooring. So, trust our experience and knowledge and let us shield your ground bottom-up!